Usage Examples
phone.systems™ objects may be arranged and logically connected in an unlimited number of combinations that will satisfy a wide variety of voice system requirements. Below are some basic configuration examples that will assist the user to understand the various objects, their functionality and the versatility of phone.systems™.
Simple Call Forwarding Setup
For this easy setup only 2 objects are required to be connected – a Phone Number and a Ring Group object.

Fig. 1. Simple Call Forwarding Setup
Before adding these objects to the phone.systems™ workspace, some resources may optionally be pre-configured, namely:
- A phone number must be added to the phone.systems™ environment
- A Contact Method (preferably a SIP account) should be configured
If these resources are not pre-configured, then they may be added during object configuration.
- Add a “Phone Number” object – From the object menu, drag and drop a Phone Number object onto the workspace.
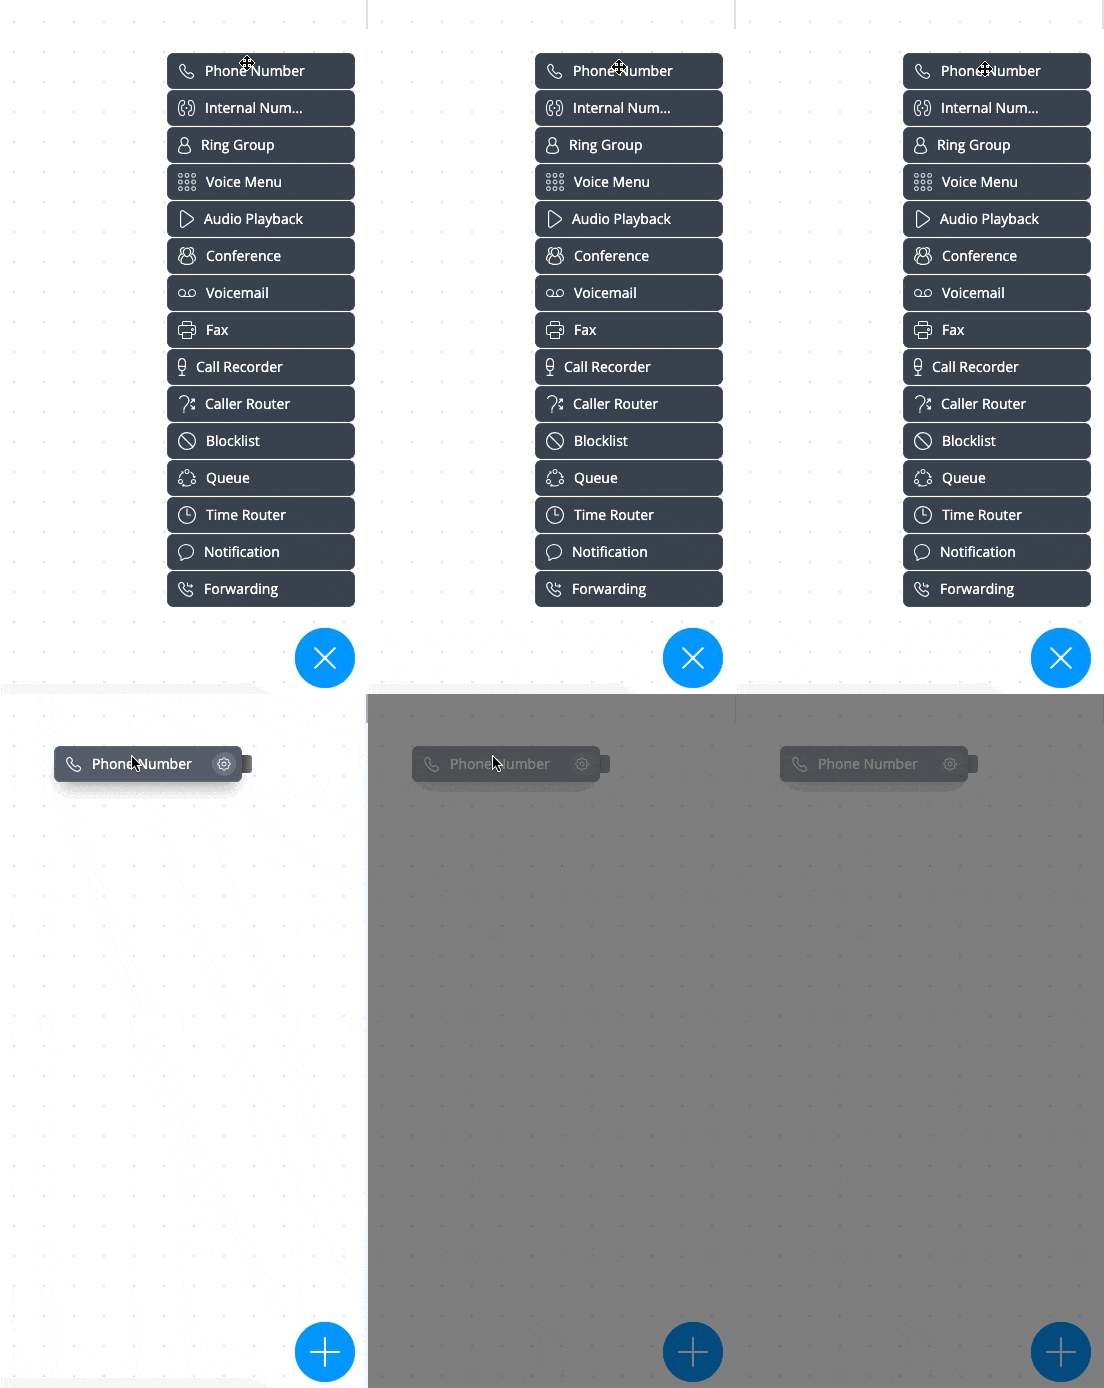
Fig. 2. Adding Phone Number Object
Once the object is added to the workspace, a new configuration window will appear. In the Number section, click the dropdown menu and select the phone number configured in the previous step. Alternatively, you can add and assign a new phone number to the Phone Number object. Click Save.
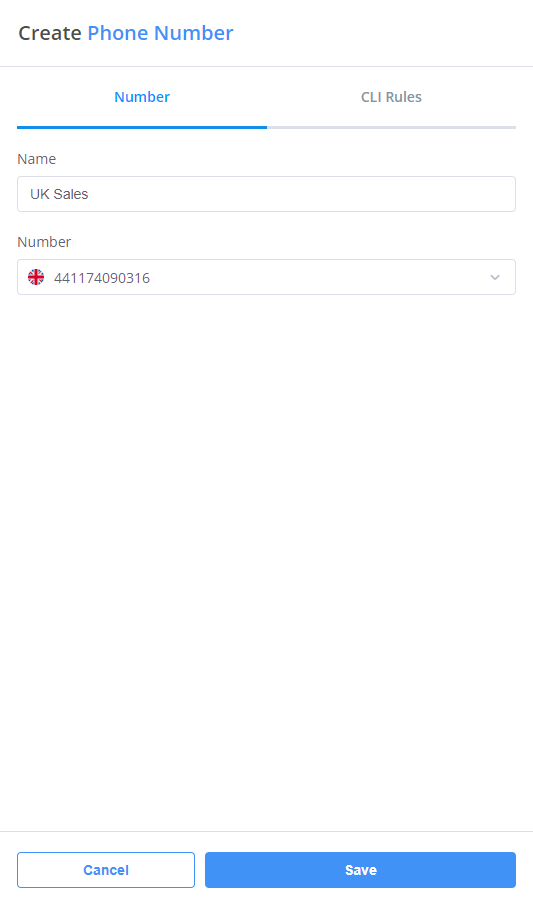
Fig. 3. Phone Number Object Creation
- Add a “Ring Group” Object – From Object Menu drag and drop a Ring Group object onto the workspace.
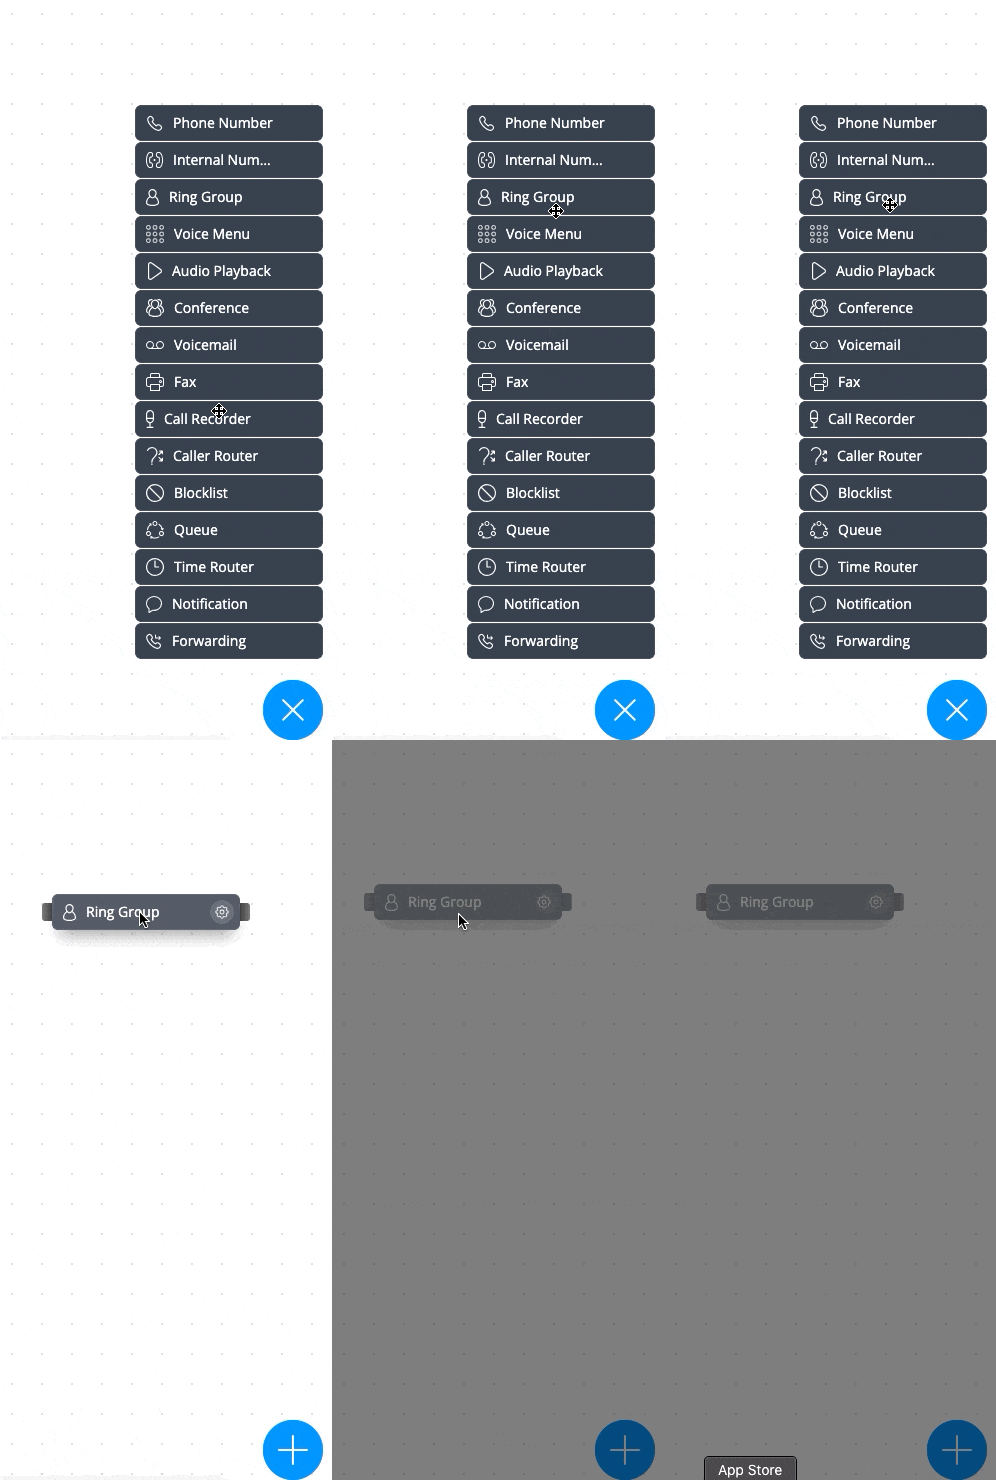
Fig. 4. Adding Ring group Number Object
Once the object is added to the workspace, a window will appear for configuring the ring group. Click Add ring group destinations and select a previously configured contact method from the dropdown menu. Alternatively, you can add a new contact and contact method, and assign them to the Ring Group object. Click Save.
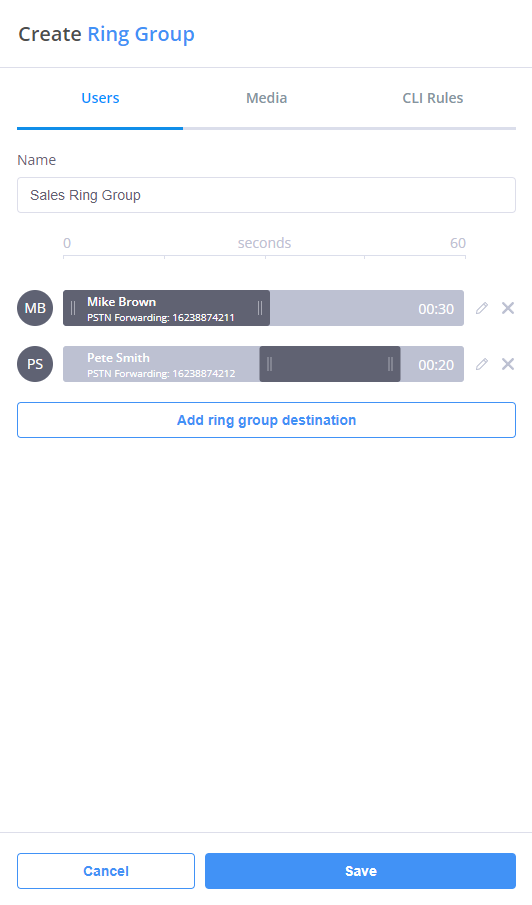
Fig. 5. Ring Group Object Creation
- Connect objects with the “cable” – Drag the “cable” from the Phone Number object and connect it to the Ring Group Object. The setup has now been completed in the phone.systems™ environment.

Fig. 6. Connecting Objects
- Configure a SIP account on your device – please refer to the section Configuring Softphones.

Fig. 7. Completed Configuration
Calling between Internal Numbers (Extensions)
This usage example will enable voice calls on phone.systems™ between two softphones, using Internal Numbers (or extensions) to connect the two parties. The configuration steps for this usage example are as follows:
- Optionally pre-configure resources
- Two Internal Numbers
- Two SIP account Contact Methods. Important – when configuring a SIP account, the “Internal caller ID” for the account must be assigned from the pre-configured Internal Number list. This number will be displayed as “Caller ID” to the recipient of the incoming call.
- Add an “Internal Number” object
From the Object Menu, drag and drop an “Internal Number” object onto the workspace.

Fig. 1. Adding An Internal Number Object
Once this Internal Number object is added onto the workspace, a configuration window will appear. Click on the Number section in the dropdown menu, and select a pre-configured internal number (if applicable). Alternatively, a new internal number may be added and allocated to this “Internal Number” object. Click on the Save button.
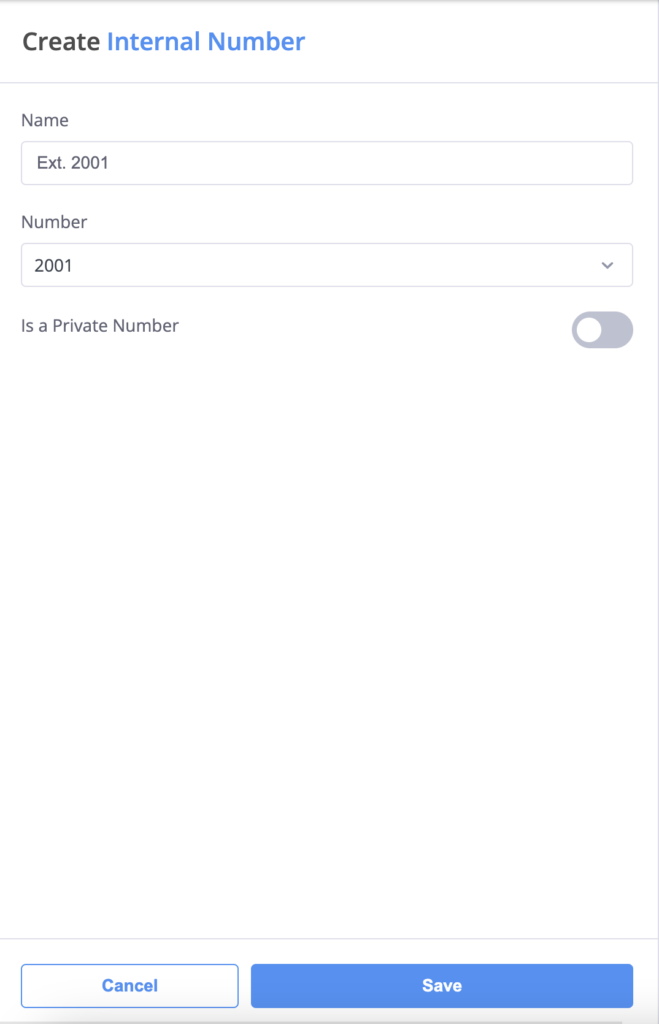
Fig. 2. Creating An Internal Number Object
- Add a “Ring Group” Object:
From the Object Menu, drag and drop a “Ring Group” object onto the workspace.

Fig. 3. Adding A Ring Group Object
Once that object is added onto the workspace, a window will appear that allows the configuration of the Ring Group. Click Add queue destination and select a previously configured Contact Method from the drop-down menu (if applicable). Alternatively, a new Contact and Contact Method may be added and allocated to the “Ring Group” object. Click on the Save button.
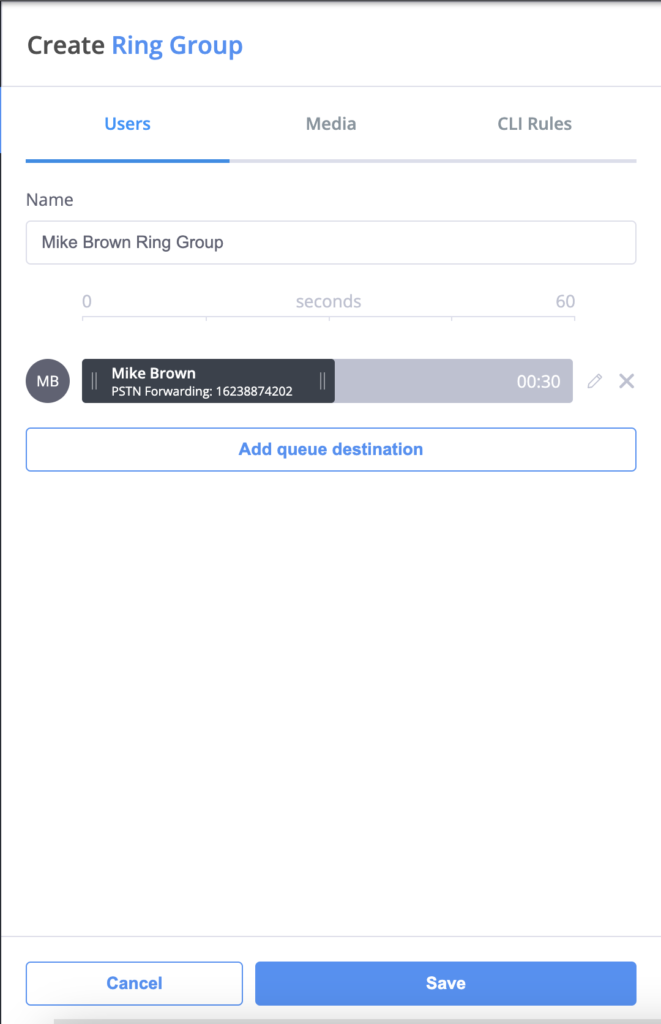
Fig. 4. Creating A Ring Group Object
- Connect the “Internal Number” and “Ring Group” objects with a “cable”:
Drag a “cable” from the “Internal Number” object and connect it to the “Ring Group” object.

Fig. 5. Connecting Objects
- Repeat the procedure of adding and configuring “Internal Number” and “Ring Group” objects:
Add another Internal Number object (for example, using the number 2010)
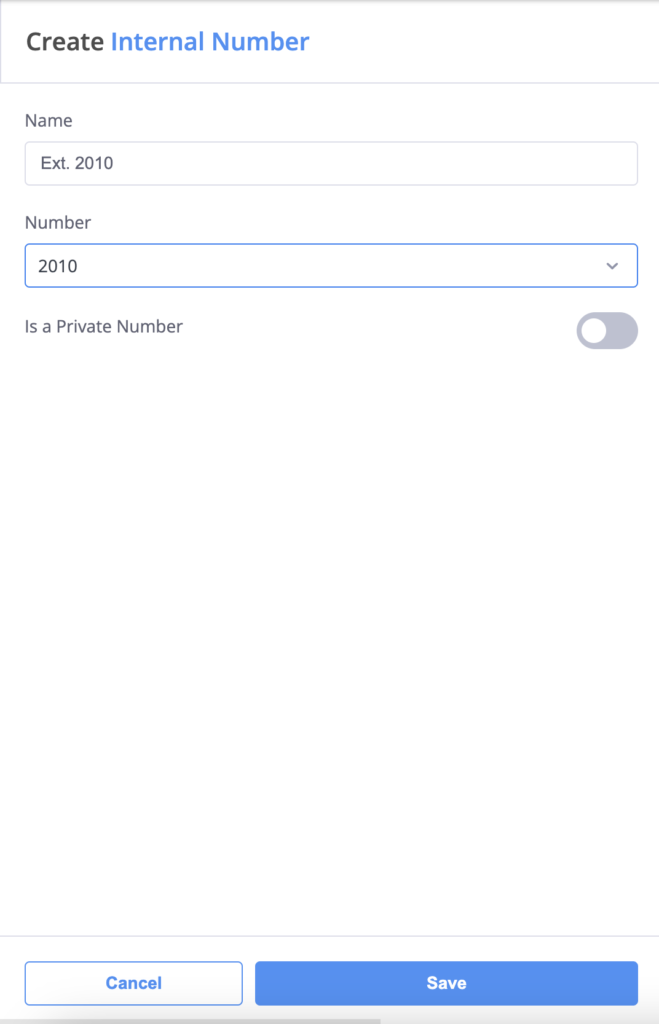
Fig. 6. Second Internal Number Object
Add another Ring Group destination (for example Tim’s PSTN).
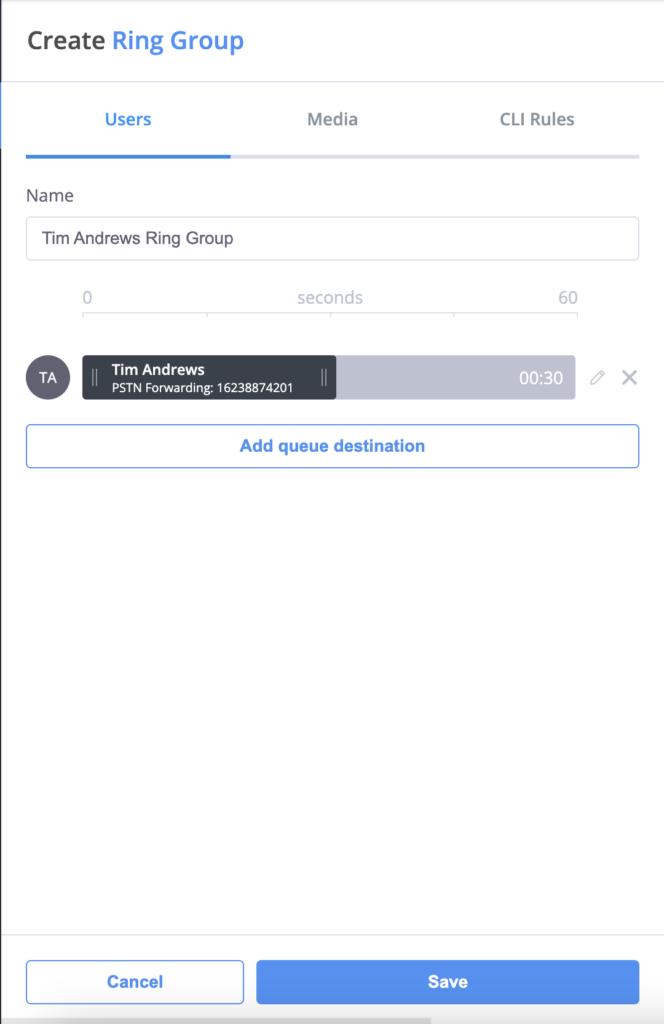
Fig. 7. Second Ring Group Object
Connect these two objects with a “cable”.
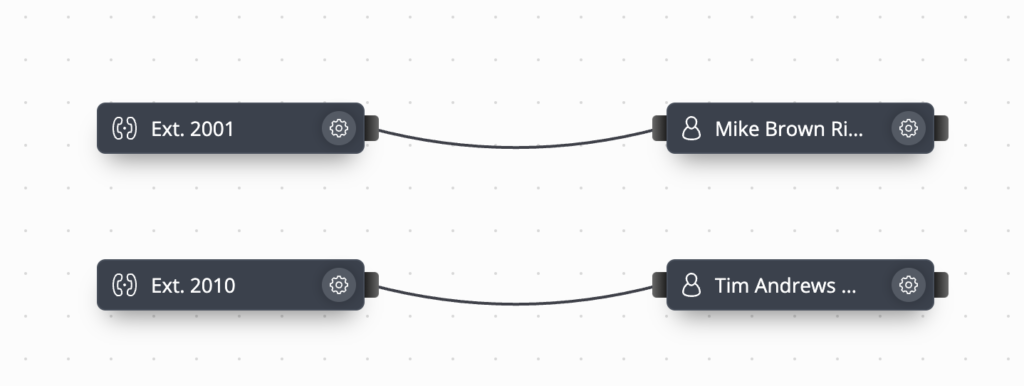
Fig. 8. Connecting The Cables
Calls may now be made between the two internal numbers (extensions) on phone.systems™.
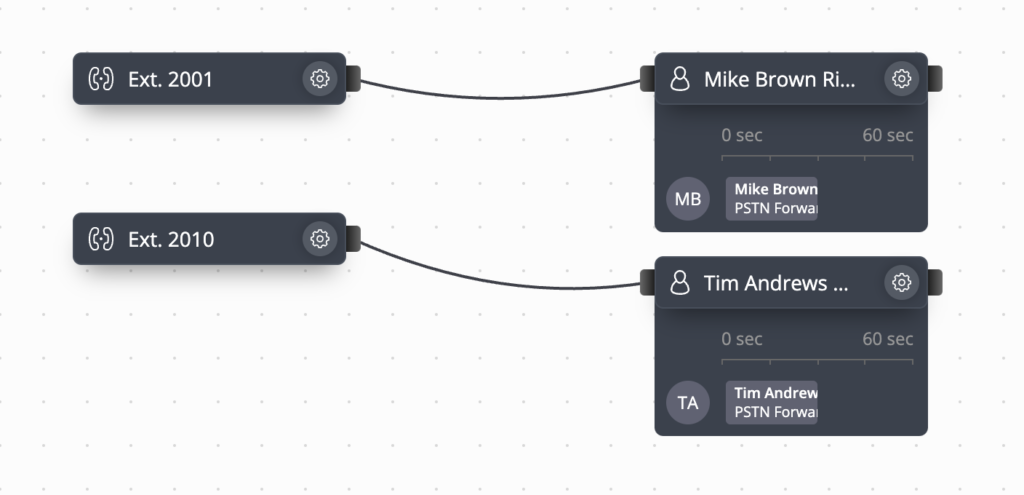
Fig. 9. Completed Configuration
For Personal/Small Business Use
Incoming calls to the assigned phone number are directed to a Ring Group object (“Mike Brown”), where the calls are forwarded to Mike’s configured contact numbers (“Work” and “Mobile”) in a defined sequence. If the call is not answered, then that call is directed to voicemail. The caller leaves a message that is sent to a specified email address.

Fig. 9. Completed Configuration
In the above example, this Ring Group object is configured for the following logic:
- On receiving an incoming call, first ring Mike’s work phone for 30 seconds.
- If the work phone is not answered (or the line is busy), then ring Mike’s mobile phone for 30 seconds.
- If there is still no answer, then forward the call to voicemailNote
Ringing sequence and ringing times for each contact method are configurable.
For Small Businesses and Groups
Incoming calls to multiple phone numbers are directed to the Voice Menu object, and a previously recorded, custom message is played. This message serves to provide the caller with further options regarding the routing of their call via extension numbers, for example, “Press 1 for Mike, 2 for Pete”. If neither Mike nor Pete answer the incoming call within the defined timeouts, then that call is sent to their personal voicemail. In the case that callers do not select a valid extension option or if they do not provide keypad input within the defined timeout period, the Voice Menu object directs those calls to Audio Playback objects where messages are played to callers.

Fig. 10. Completed Configuration
For Medium-Size Businesses
phone.systems™ objects may be simply added and configured to meet the evolving needs and functions of a business, with the Voice Menu object being used to direct phone calls to various departments and personnel, whether they be local or remote.
In the scenario shown below, calls to multiple phone numbers are directed to a Voice Menu object functioning as the main switchboard. Calls are then forwarded to secondary Voice Menus, where extension numbers entered by the callers direct those calls to specific personnel in the sales or technical support departments.

Fig. 11. Completed Configuration