Third-Party Softphone Configuration
Follow the steps below to configure a third-party softphone and get the connection details by generating SIP credentials and entering them into your preferred softphone.
Step 1. Create a New User
To create a new user, go to the Users menu, click , and select Create new.
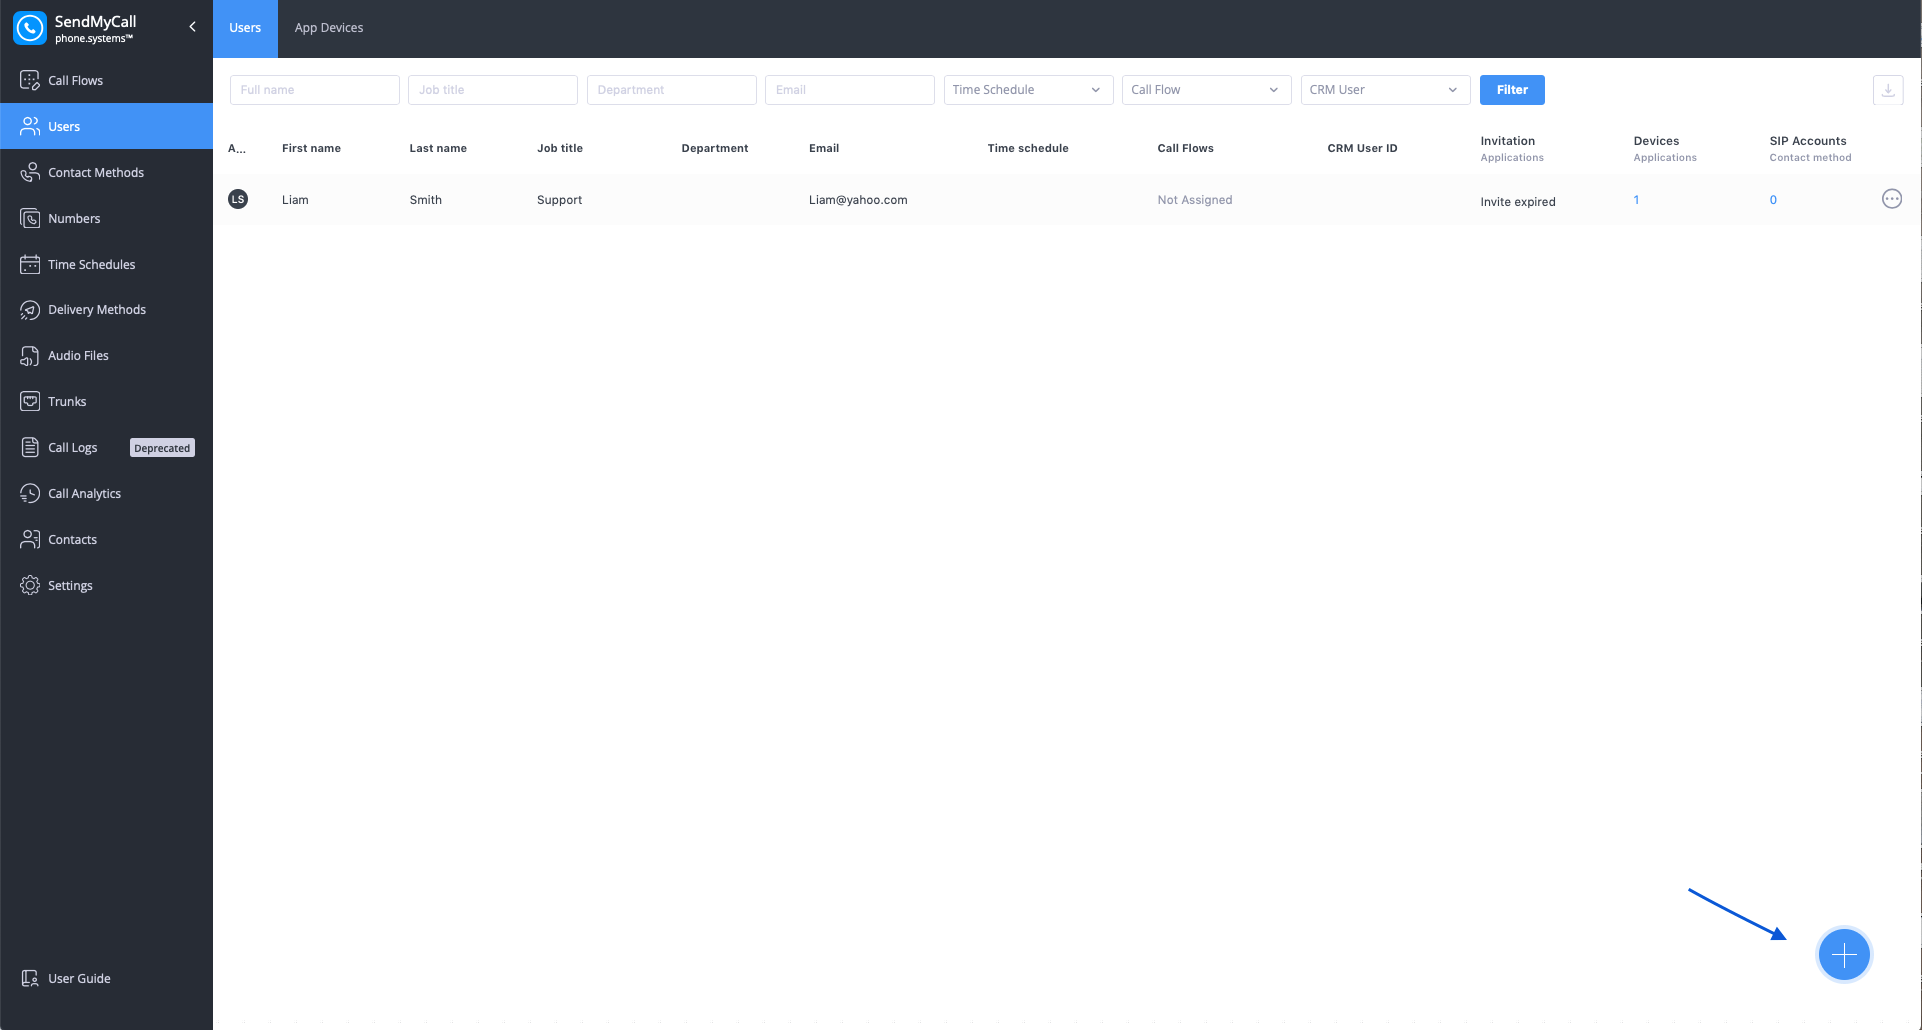
Fig. 1. Create a New User
Fill in the user details and click Save to create a new user.
Tip
When configuring a user for a third-party softphone, the application line configuration can be skipped.
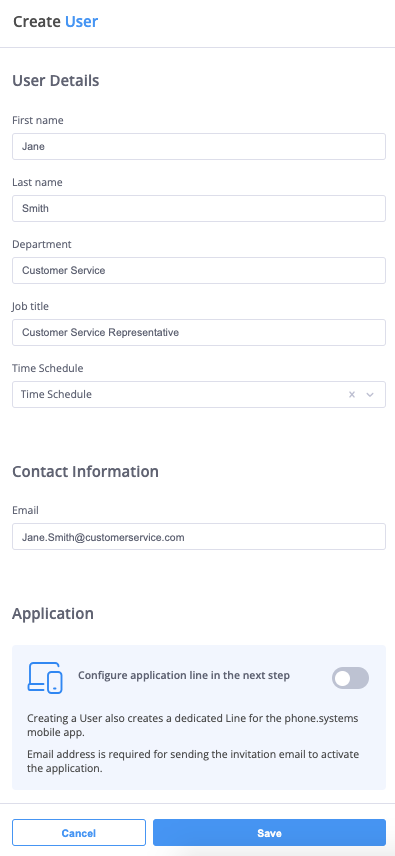
Fig. 2. Create User Form
Step 2. Create a SIP Account and Generate SIP Credentials
- To create a SIP account, go to the Contact Methods menu, select SIP Accounts tab, and click
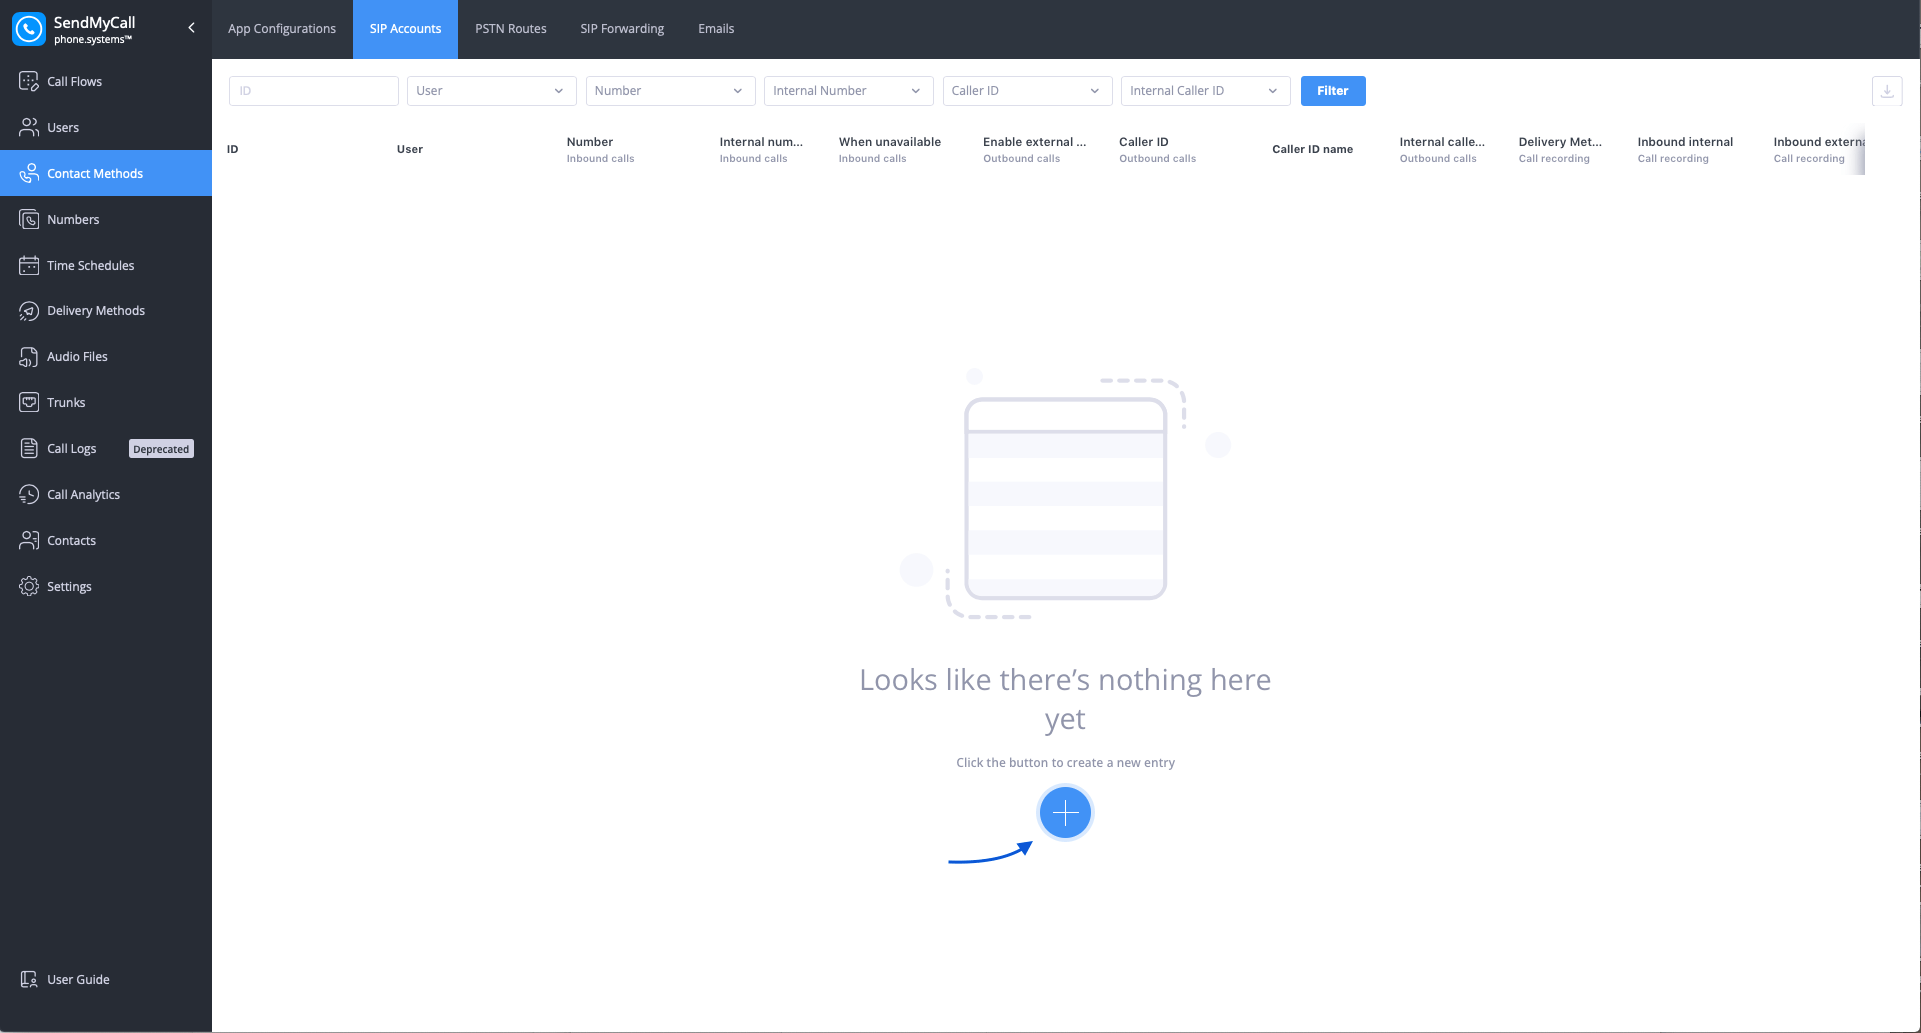
Fig. 1. Create SIP Account
- In General section, select the User for which the SIP Account Contact Method will be created and assigned to.
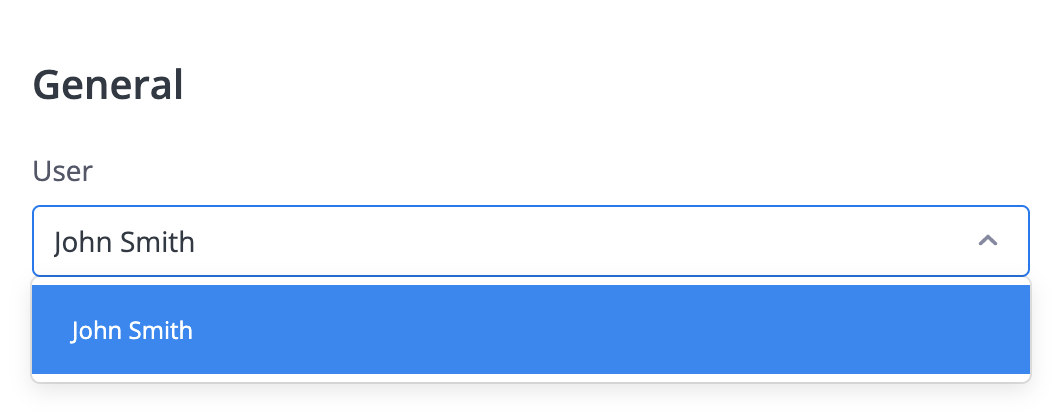
Fig. 2. Select the User
- In Inbound calls section, select the DID Number which will forward the calls to the new SIP Account.
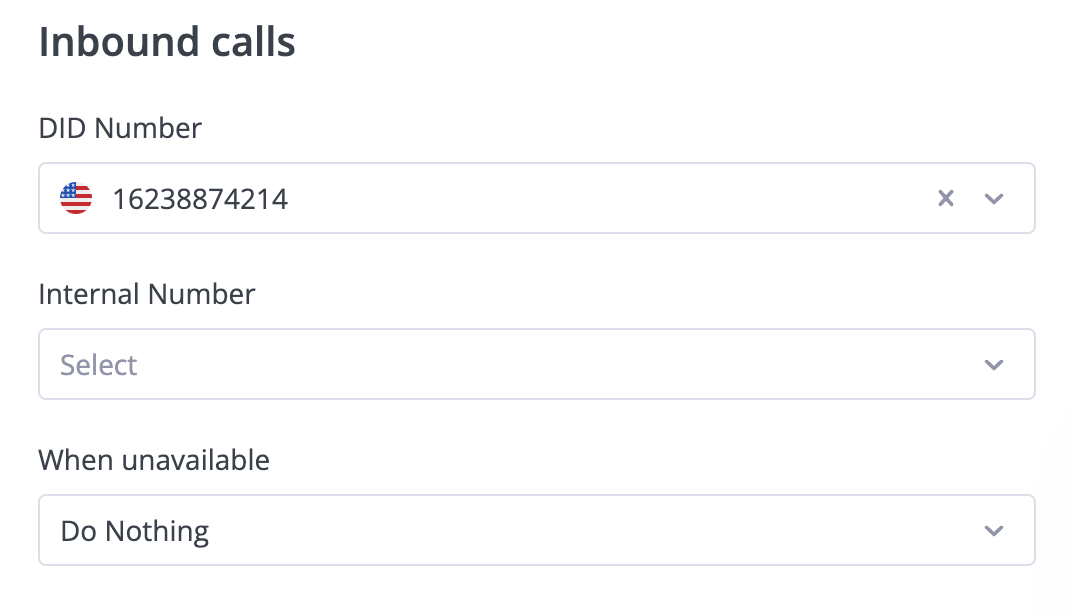
Fig. 3. Inbound Calls
- In the Outbound calls section, enable outbound calls for your SIP account by selecting the Enable external outbound calls checkbox. Then, choose the Caller ID and click Save to create the SIP account.

Fig. 3. Inbound Calls
- Locate the newly created user, click
, and select Edit.
In the General section, you can view the generated SIP account credentials required to connect with your preferred third-party softphone or system. Copy the Username, Password, and Domain.
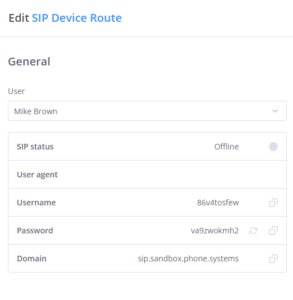
Fig. 5. SIP Account Credentials
Step 3. Set up SIP Account on a Third-Party Softphone
Third-party softphones enable you to make and receive calls from your device using the SIP account provided by phone.systems™. You can register a SIP account with any compatible third-party softphone, VoIP device, or system.
Note
- Incoming Calls: SIP registration is essential for receiving incoming calls successfully.
- Outbound Calls: SIP registration is recommended, but not required for outgoing calls. An outbound call can be established by sending a SIP INVITE request directly to the recipient’s SIP URI, provided that appropriate authentication credentials are included.
Zoiper5
Follow these steps to set up a SIP account in Zoiper5 softphone.
- Download Zoiper5 from the Zoiper website and install it on your device.
- Open Zoiper5 and enter the SIP account credentials in the Username and Password fields. Press Login to proceed.
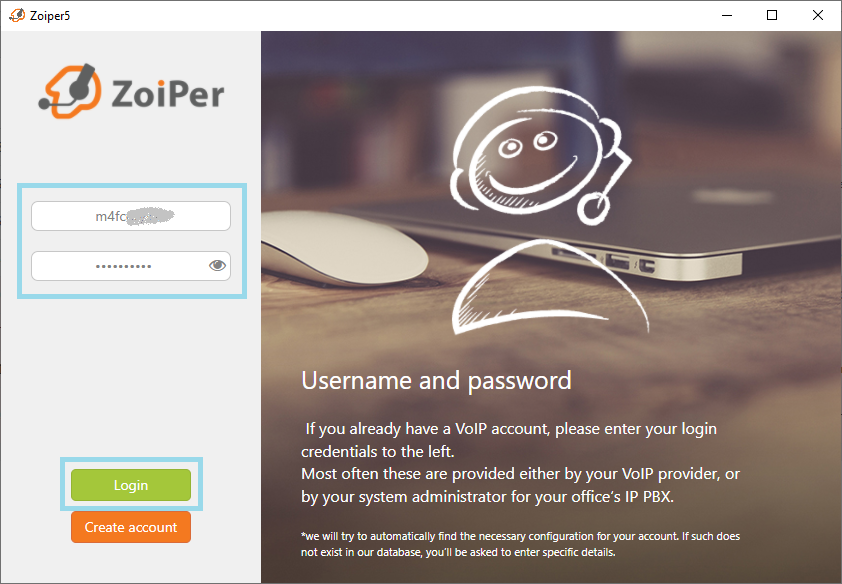
Fig. 1. SIP account credentials
- Enter the Domain retrieved from the SIP account credentials and press Next.
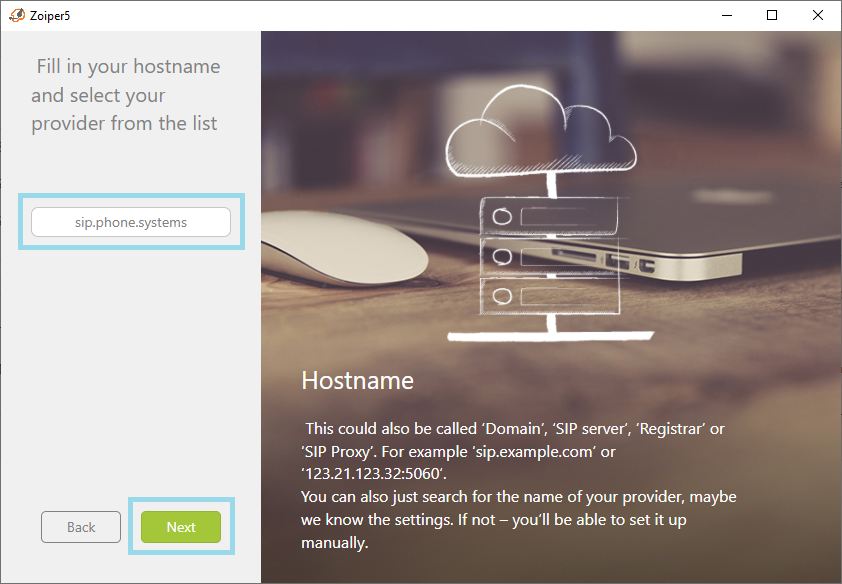
Fig. 2. Enter Domain.
- In this step, you will see an optional settings screen. Authentication and Outbound Proxy settings are not required for the phone.systems™ SIP account. Click Skip to continue.
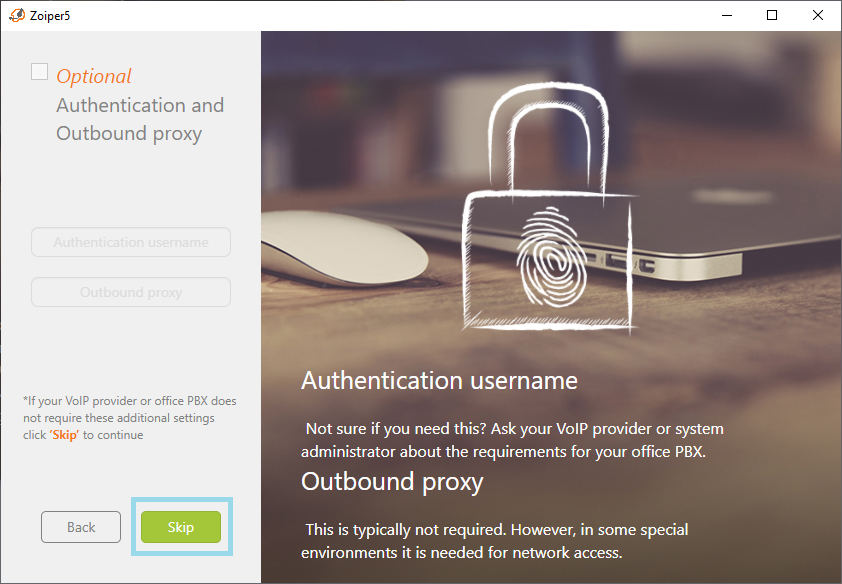
Fig. 3. Skip Authentication and Outbound Proxy settings.
- Verify the transport protocol (SIP TCP and SIP UDP are supported). Click Next to proceed.Note
TLS is also supported by phone.systems™, but it is only available in the Zoiper5 PRO version.

Fig. 4. Verify Transport Protocol.
- Verify the SIP account connection. Press X to close the window, complete the setup, and return to the main screen.
Note
If the connection is successful, a green checkbox will appear, along with the URI address in the format {username@domain}.
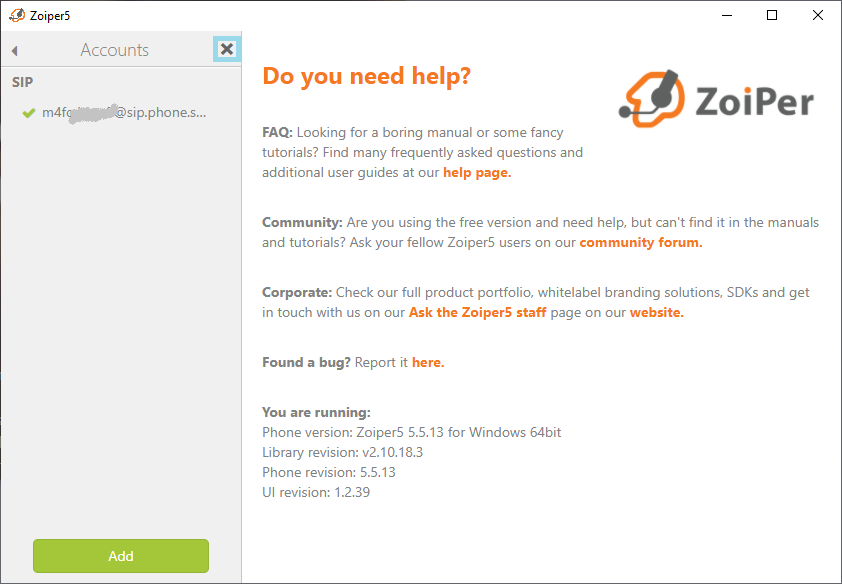
Fig. 5. Accounts list
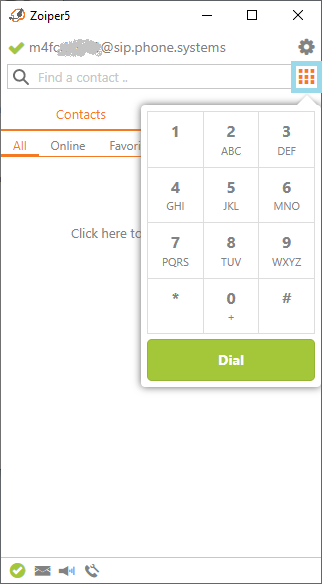
- On the main screen, tap the dialer icon to open the dial pad. Your SIP account is now registered on Zoiper5. You can start making and receiving calls from your device.
Fig. 6. Open Dial Pad.
